
Do you ever plan a day, and you're just so excited for the amazing things you're going to do, the fun everyone's going to have, and how perfect it is going to be? And then your babee wakes up with croup in the middle of the night. You realize that taking the birthday sister out to the place of her dreams (the bee hive climbing structure in the Children's Museum in Boston, in this particular case) would be an exercise in selfishness and germ-spreading? Scratch Plan A.
Luckily I had a plan B up my sleeve all along. I've been wanting to carve leaf stamps for a while, so today was going to be the day! I collected a pretty maple leaf and set to work. The kids were duly impressed but instantly decided to take matters in their own hands and design their own motifs.
Plan C was in motion: Turns out, it seems, that negative cuts (making the picture out of the carved away lines, as opposed to the part left standing as I had done) was much more intuitive to them. It also means you don't have to tediously remove the 'outside' part of the stamp, which may well be the most accident-prone part of the carving.
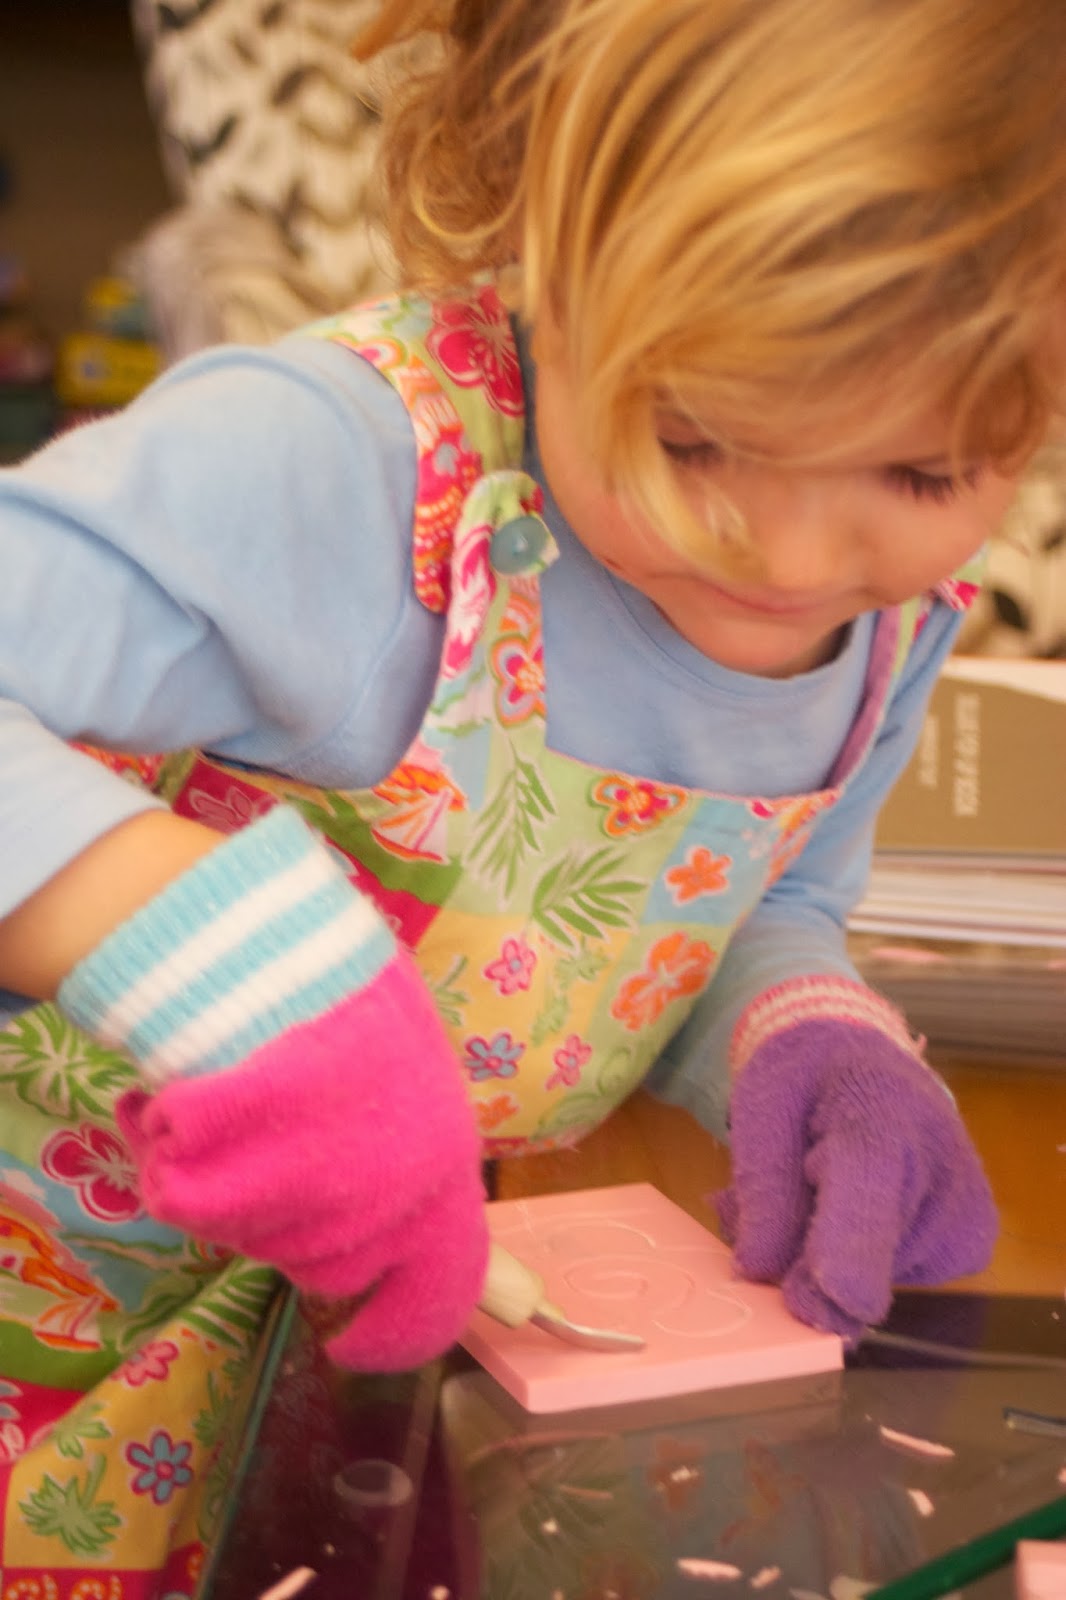
I used a very simple Speedball carving kit and was surprised that even the 3yo could pretty much handle it without a single incident.

The material is like a giant eraser. It wasn't quite like the linoleum I remembered from my childhood but the carving went smoothly and easily. After done carving, I had the kids paint the material with watercolors. It turned out to be useful to have a mister filled with water to get the final stamp to uniform wetness. There was a bit of a learning curve, there.


At this point, the birthday girl insisted on hanging the rubber stamp itself up on the wall in her room. I pretty much had to pry it out of her hands to stamp it - but as soon as I lifted it back up and she saw the result, she was hooked! (The photos show the actual first try.) And you can do it over and over! In fact, I learned that you can re-mist the same stamp once, and reprint it for a slightly fainter but sometimes even more detailed second print.


The project is great for all ages, because the really little ones can just paint a stamp that an older person has cut out for them. That said, my 3yo babee carved the rose on the left here almost all by herself. I was surprised.


I did in the end convince her to paint my leaf stamp a few times :-) If they're in a good mood, they sometimes humor me out of sheer kindness. After her initial flower picture, the birthday girl cut a second picture of a butterfly. Here is a gallery that includes almost all the prints we made. We didn't produce too many rejects (or maybe my standards are not very perfectionist). The key to a good result is uniform paint coverage. If you want to control the outcome even more, you can remove colors from
the watercolor set, so as to have them produce a print using only one
color family. I tried that out myself with the rose below.

I'm pretty pleased with the fact that I have quite a few cards at the ready for upcoming birthdays! And frankly, plan C was best all along, don't you agree?


Those cards are just beautiful! I never would have thought of doing something like this with such young children, but they seem to have managed really well.
ReplyDeleteWhat a neat idea! I had never heard of this craft, so I'm excited to see this. Thanks for sharing at the Creative Kids Culture Blog Hop!
ReplyDelete