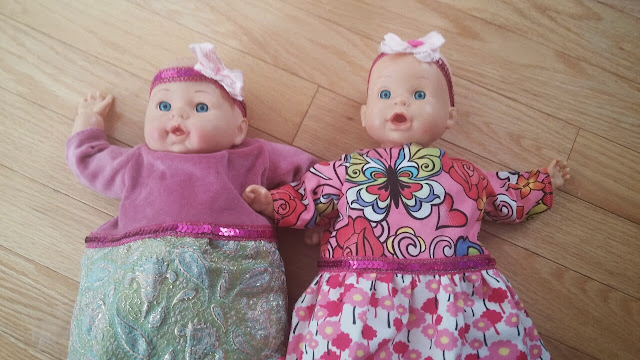
 I did the hems (bottom of skirt, bottom of sleeves, neckline) by cutting with zigzag scissors (pinking shears in adult speak), and then just turned once and stitched down, with a straight stitch except around the neckline, where I used a smallish zigzag stitch and a very narrow hem.
Once the hems were done, I put the velcro on the inside/outside of the center seam allowance of the back bodice pieces and hemmed that at the same time.
Then, I closed the shoulder seams, put the arms in (just stretching things into place, no fancy prepping of the sleeves or anything), and then closed the side seams from the wrists to the waist.
I ruffled the skirt piece with one line of large stitching, with the upper tension reduced, which lets you pull the lower thread to 'wrinkle' the fabric. I did this for all layers of the skirt at once, two tulle, one main fabric. Then I attached the skirt with the opening at the back, overhanging a bit over the finished edge of the bodice pieces. Next, stitched a ribbon around the waist to cover/stabilize the joining of the skirt and bodice. Then stitched the skirt and ribbon closed, at the back seam, leaving the bodice open from the waist up, and DONE!
The kids helped with doing many of the straight seams, each to their ability. This little machine works pretty well, it bravely stitched through a bunch of layers including some sequins, even! The dresses are really roomy around the middle, depending if your doll is potty trained yet, that could be a good thing. Or if your doll is actually a teddy bear. Or you could just make the pattern of the bodice a bit narrower.
In the spirit of combating the doll monopoly out there, here's the pattern for download as a PDF. Let me know if that works for you!


Hi Katharina,
ReplyDeleteThanks for sharing the pattern!
When the dolls need summer clothing, one really simple pattern that we have used for stuffed animal clothing at our house is the 'pillow case dress'. They can also be embellished with trim or by piecing fabrics together, fun and super easy.
Suzanne
Brilliant idea, Suzanne! Filing away for future reference... Thanks for visiting!
Delete